Intro | Index | Slideshow
Info
QuickView • Large • Details
< Prev Next >
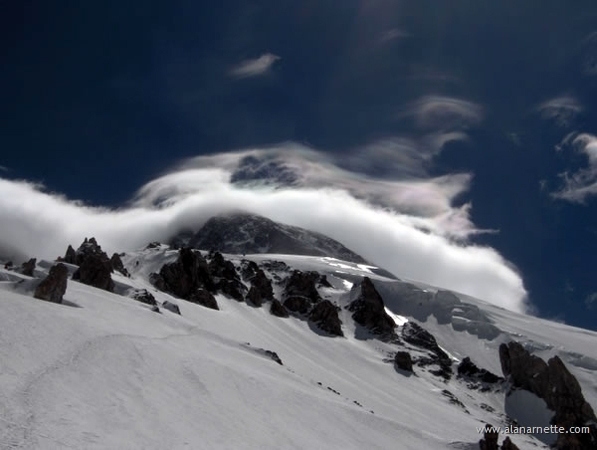
Route to Camp 3 and the summit
Generated by Shozam